
Joanne’s Journals / Start here
How to set up your first JJ planner
A simple setup you can use from day one, with a checklist to help every piece fit.
Your planner doesn’t need to hold every part of your life on the first day. Start with one thing you’d like to make easier, then build a small setup around it. You can add to it as your routine develops.
1. Choose one job for your planner
Perhaps you want to remember appointments, organise your working week or keep household tasks in one place. Write a sentence: “I want my planner to help me…” Use that answer to decide which pages deserve space inside.
If you’re unsure where to begin, take our planner quiz for a suggested starting point.
2. Check your size and fitting
Choose your binder or cover before ordering loose inserts. Ring and Disc are different systems, and matching the paper size alone isn’t enough: the punched fitting must match too.
- Ring: choose inserts made for the size and ring layout of your binder.
- Disc: choose compatible disc-punched inserts, covers and discs.
- Buying a bundle? Read what’s included so you know whether you need anything else.
Our Ring or Disc guide explains the difference. When you use Build Your Planner, check all required components and the final total before adding your setup to your basket.
3. Begin with three useful sections
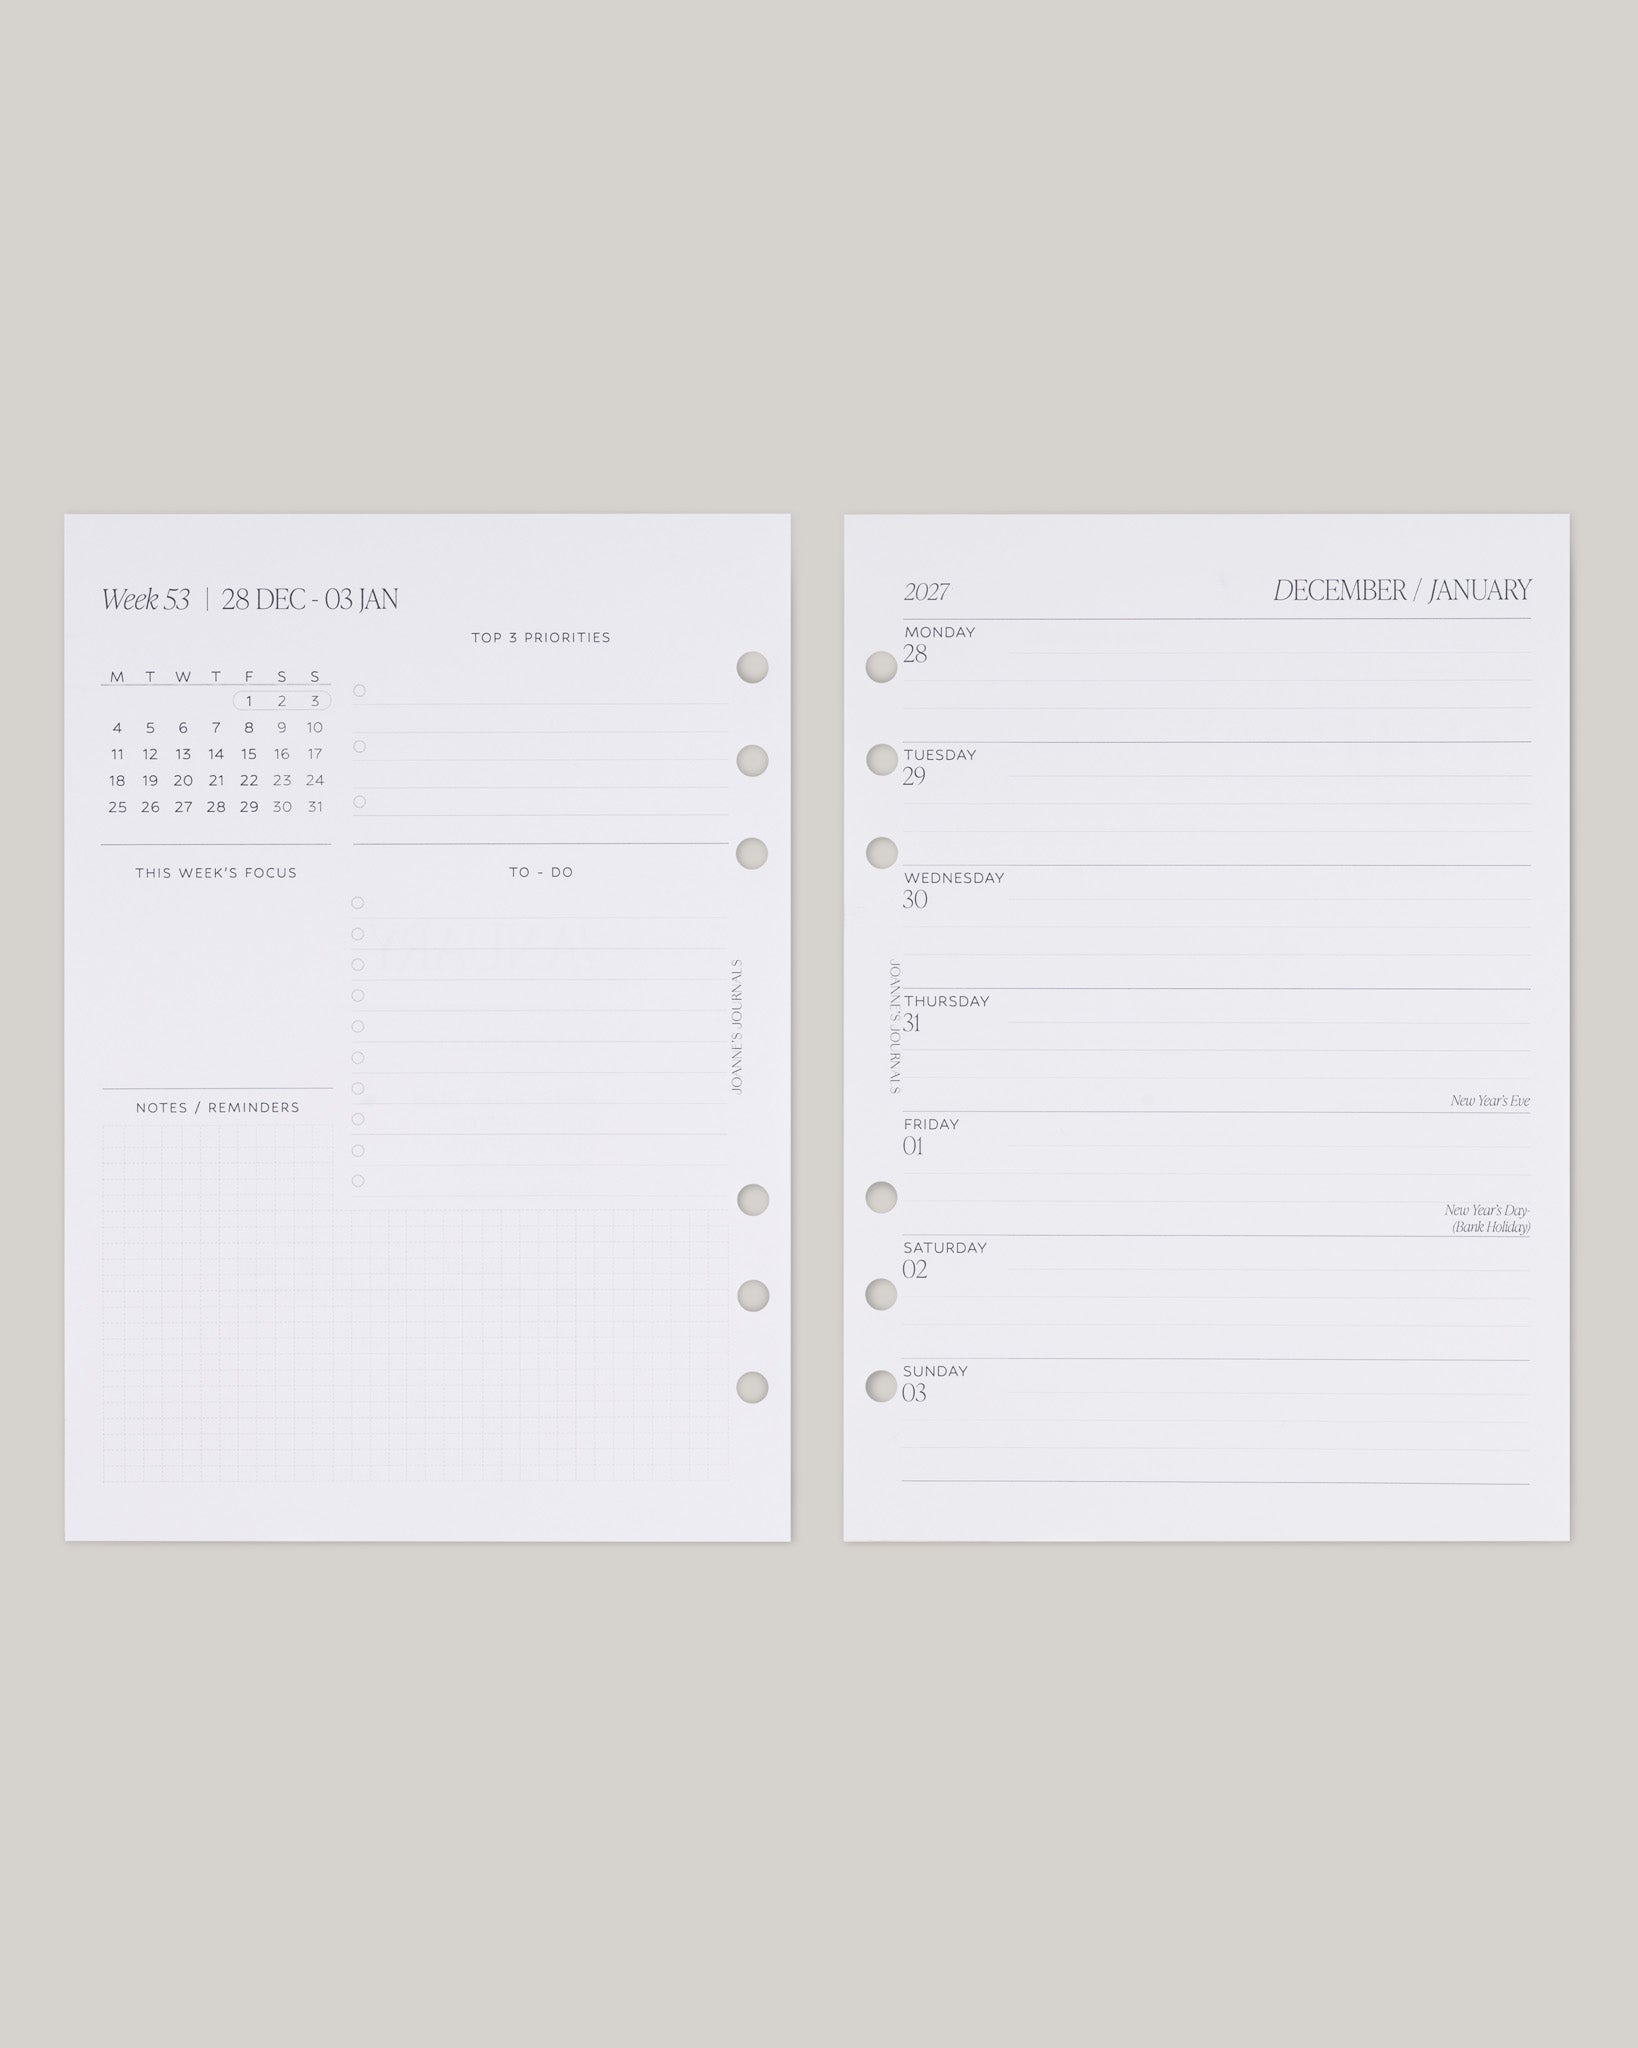
A simple starting suggestion is Plan, Do and Notes. You can use dividers if you like, but you don’t need to decorate every section before you begin.
- Plan: a weekly or monthly view for appointments and commitments.
- Do: somewhere to record your next tasks and priorities.
- Notes: a place for ideas, reminders and things to come back to.
Choose daily pages if you need more space for individual days, or a weekly layout if seeing the whole week helps. Browse planning inserts and start with the layouts you expect to use.
4. Set up the next seven days
Add appointments first. Then choose up to three priorities for the week and leave some space for unexpected jobs. Put longer lists in Notes instead of trying to fit every task into one day.
Try keeping only the pages you currently need in your binder. Leave enough room for pages to turn comfortably; your setup can grow later.
5. Give it a regular place in your day
Keep your planner somewhere you’ll see it. A short check with your morning drink, or a few minutes at the end of the day, can be easier to maintain than a long planning session.
After a week, notice what you used. Keep the useful sections, move anything that gets in the way and add a new insert only when you know what you need it for.
Your first-setup checklist
- My cover, pages and fitting match.
- I’ve checked what my bundle includes.
- My next appointments are written down.
- I have a short, realistic list of priorities.
- There is space to turn pages comfortably.
- I know when I’ll next check my planner.
Choose your starting point
Prefer a ready-made selection? Explore our bundles. Enjoy choosing each piece? Build your own around the sections you need.
Check each product’s contents, size and fitting before ordering. Personalisation is an optional paid extra where offered.